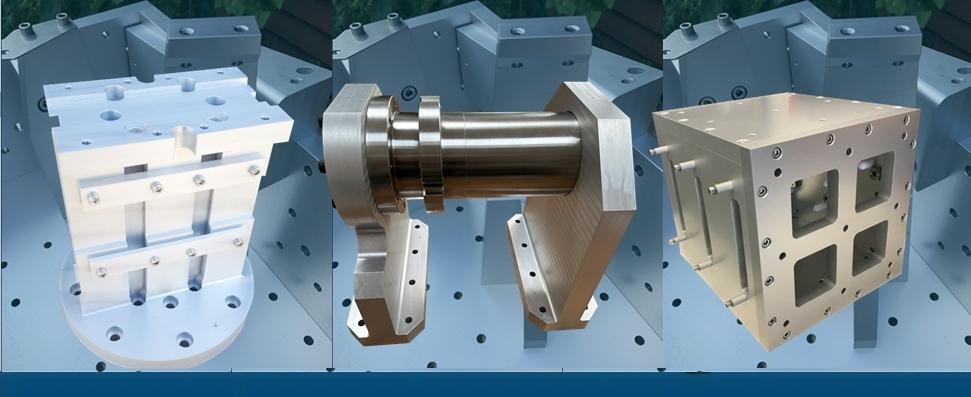
Common Problems in Vibration Test Fixture Design: Solutions & Top Tips
The process of vibration testing is an indispensable product development checkpoint. The success of these tests hinge not only on the quality of the products but also on the design and execution of the fixtures or jigs used to secure the items under test.
In this blog we look at the common pitfalls engineers encounter when designing and producing vibration test fixtures and the practical solutions to address these issues. We offer top tips for designing an effective vibration test fixture.
Common Problems in Jig or Vibration Test Fixture Design
1. Fixture Design Mismatch
Problem: The fixture's design doesn't align with the test item's shape or mounting points, causing misalignment and potential damage during testing.
Solution: Prioritise a thorough understanding of the product's geometry and attachment points. Consult with the product design team to ensure proper compatibility. Use CAD software to design a custom fixture that precisely matches the item's contours.
2. Inadequate Attachment and Fastening
Problem: Weak or improper fastening can lead to test item detachment, compromising the test's integrity and safety.
Solution: Choose robust, suitable materials for your fixture, such as aluminium. Employ reliable clamps, bolts, and fasteners. Regularly inspect and maintain these components to ensure they remain secure.
3. Resonance and Amplification
Problem: Inadequate fixture design may lead to resonance and amplification of vibrations, affecting test results.
Solution: Calculate and simulate the fixture's natural frequencies to avoid resonance. Dampen vibrations using shock absorbers or vibration isolation mounts. Modify the fixture design to avoid resonant frequencies.
4. Test Item Overloading
Problem: Overloading the fixture with a heavy or oversized test item can cause structural damage or fixture failure.
Solution: Always perform load testing on your fixture to ensure it can withstand the expected forces.
5. Inadequate Flexibility
Problem: Too rigid a fixture may not accommodate the vibrations or movements required for the test.
Solution: Design the fixture with adjustable mounts or flexible components to accommodate various testing scenarios. Ensure these adjustments are easy to make and maintain their stability.
Top Tips for Designing a Vibration Test Fixture
1. Collaborate with Design Teams
Work closely with the product design team to understand the test item's geometry, attachment points, and any unique considerations. Collaboration ensures a fixture that accurately replicates real-world conditions.
2. Prioritise Material Selection
Select materials that are sturdy and appropriate for your application. Common choices include aluminium and steel. Ensure the fixture materials can withstand the expected forces and vibrations.
3. Calculate Natural Frequencies
Use finite element analysis (FEA) or other simulation tools to calculate the natural frequencies of your fixture. Avoid resonant frequencies that could compromise test accuracy.
4. Incorporate Damping Techniques
Employ shock absorbers or vibration isolation mounts to dampen vibrations and prevent resonance. This helps protect both the fixture and the test item.
5. Load Testing
Conduct load testing to ensure your fixture can handle the anticipated forces and loads. This step helps prevent overloading and structural failure during testing.
6. Flexibility and Adjustability
Design your fixture to be adjustable and flexible, allowing you to adapt to different testing scenarios. Make sure adjustments are easy to perform and maintain stability.
7. Regular Maintenance
Frequent inspection and maintenance are essential for the long-term effectiveness of your fixture. Address any wear and tear promptly to prevent issues during testing.

